Connectivity
In short
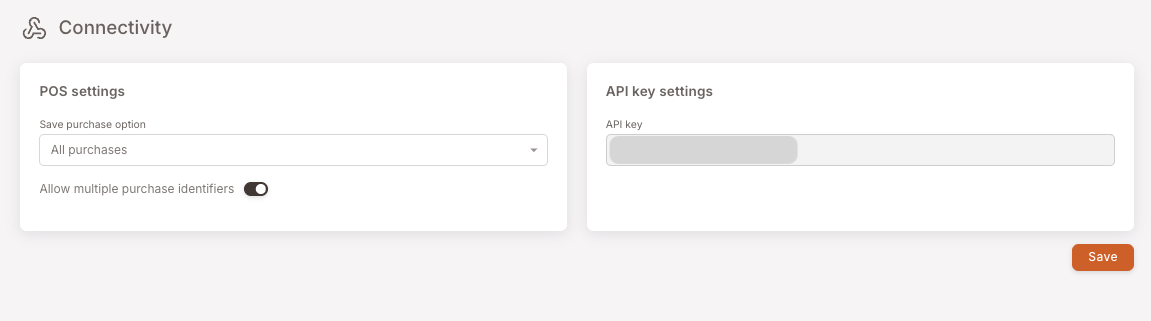
The Connectivity page is where the tenant's API key lives — the credential the POS uses to authenticate when it talks to the platform. Read-only for everyday purposes; don't change anything here unless your integrator explicitly asks.
What's on the page
Two cards:
- POS settings (left) — Save purchase option (typically All purchases) and Allow multiple purchase identifiers. Both configured at launch by your integrator.
- API key settings (right) — the tenant's API key. This is what your POS uses in its
x-api-keyheader to authenticate with the platform.
When to touch this
Almost never. The two situations where this page matters:
- Your integrator asks for the API key to debug a POS-to-platform connection — copy it from the field and share with them through a secure channel.
- The integrator asks you to flip a POS setting (e.g. Save purchase option between All purchases and a more selective mode) as part of a configuration change — do exactly what they ask, no more.
If anything else looks wrong here, it's a question for your integrator, not a self-service fix.
Why this page is so short
Most loyalty tools bury connectivity behind a "developer settings" hellscape. The platform deliberately keeps this surface small: one credential, two POS toggles, nothing else for the operator to tune. If your POS-side integration is misbehaving, the cause is almost always at the POS or in the Smart Campaigns configuration, not here.